

These tools help you create a simple, organized system for storing your genealogy files and materials on your computer.
Use them to keep your research easy to find, reduce confusion, and ensure your work is safely organized for the future.
Tip: These tools involve working with files on your computer. If you are unsure, take your time and follow each step carefully.
Genealogy Folder Setup
A downloadable folder system designed to help you organize your genealogy files on your computer. This tool works with Windows File Explorer and provides a structured way to store documents, photos, and research materials so everything stays in one place. Using a consistent folder system makes it easier to locate files and helps ensure your research can be backed up or moved to another computer when needed.
How to Set Up Your Folder System:
1. Click the button below to download the Genealogy folder file
2. Locate the downloaded file (usually in your Downloads folder)
3. Right-click the file named Genealogy.zip and select Extract All
4. Open the extracted folder
5. Click and hold the folder, drag it to your Local Disk (C:), then release the mouse
Take your time and follow each step. You can repeat these steps if needed.
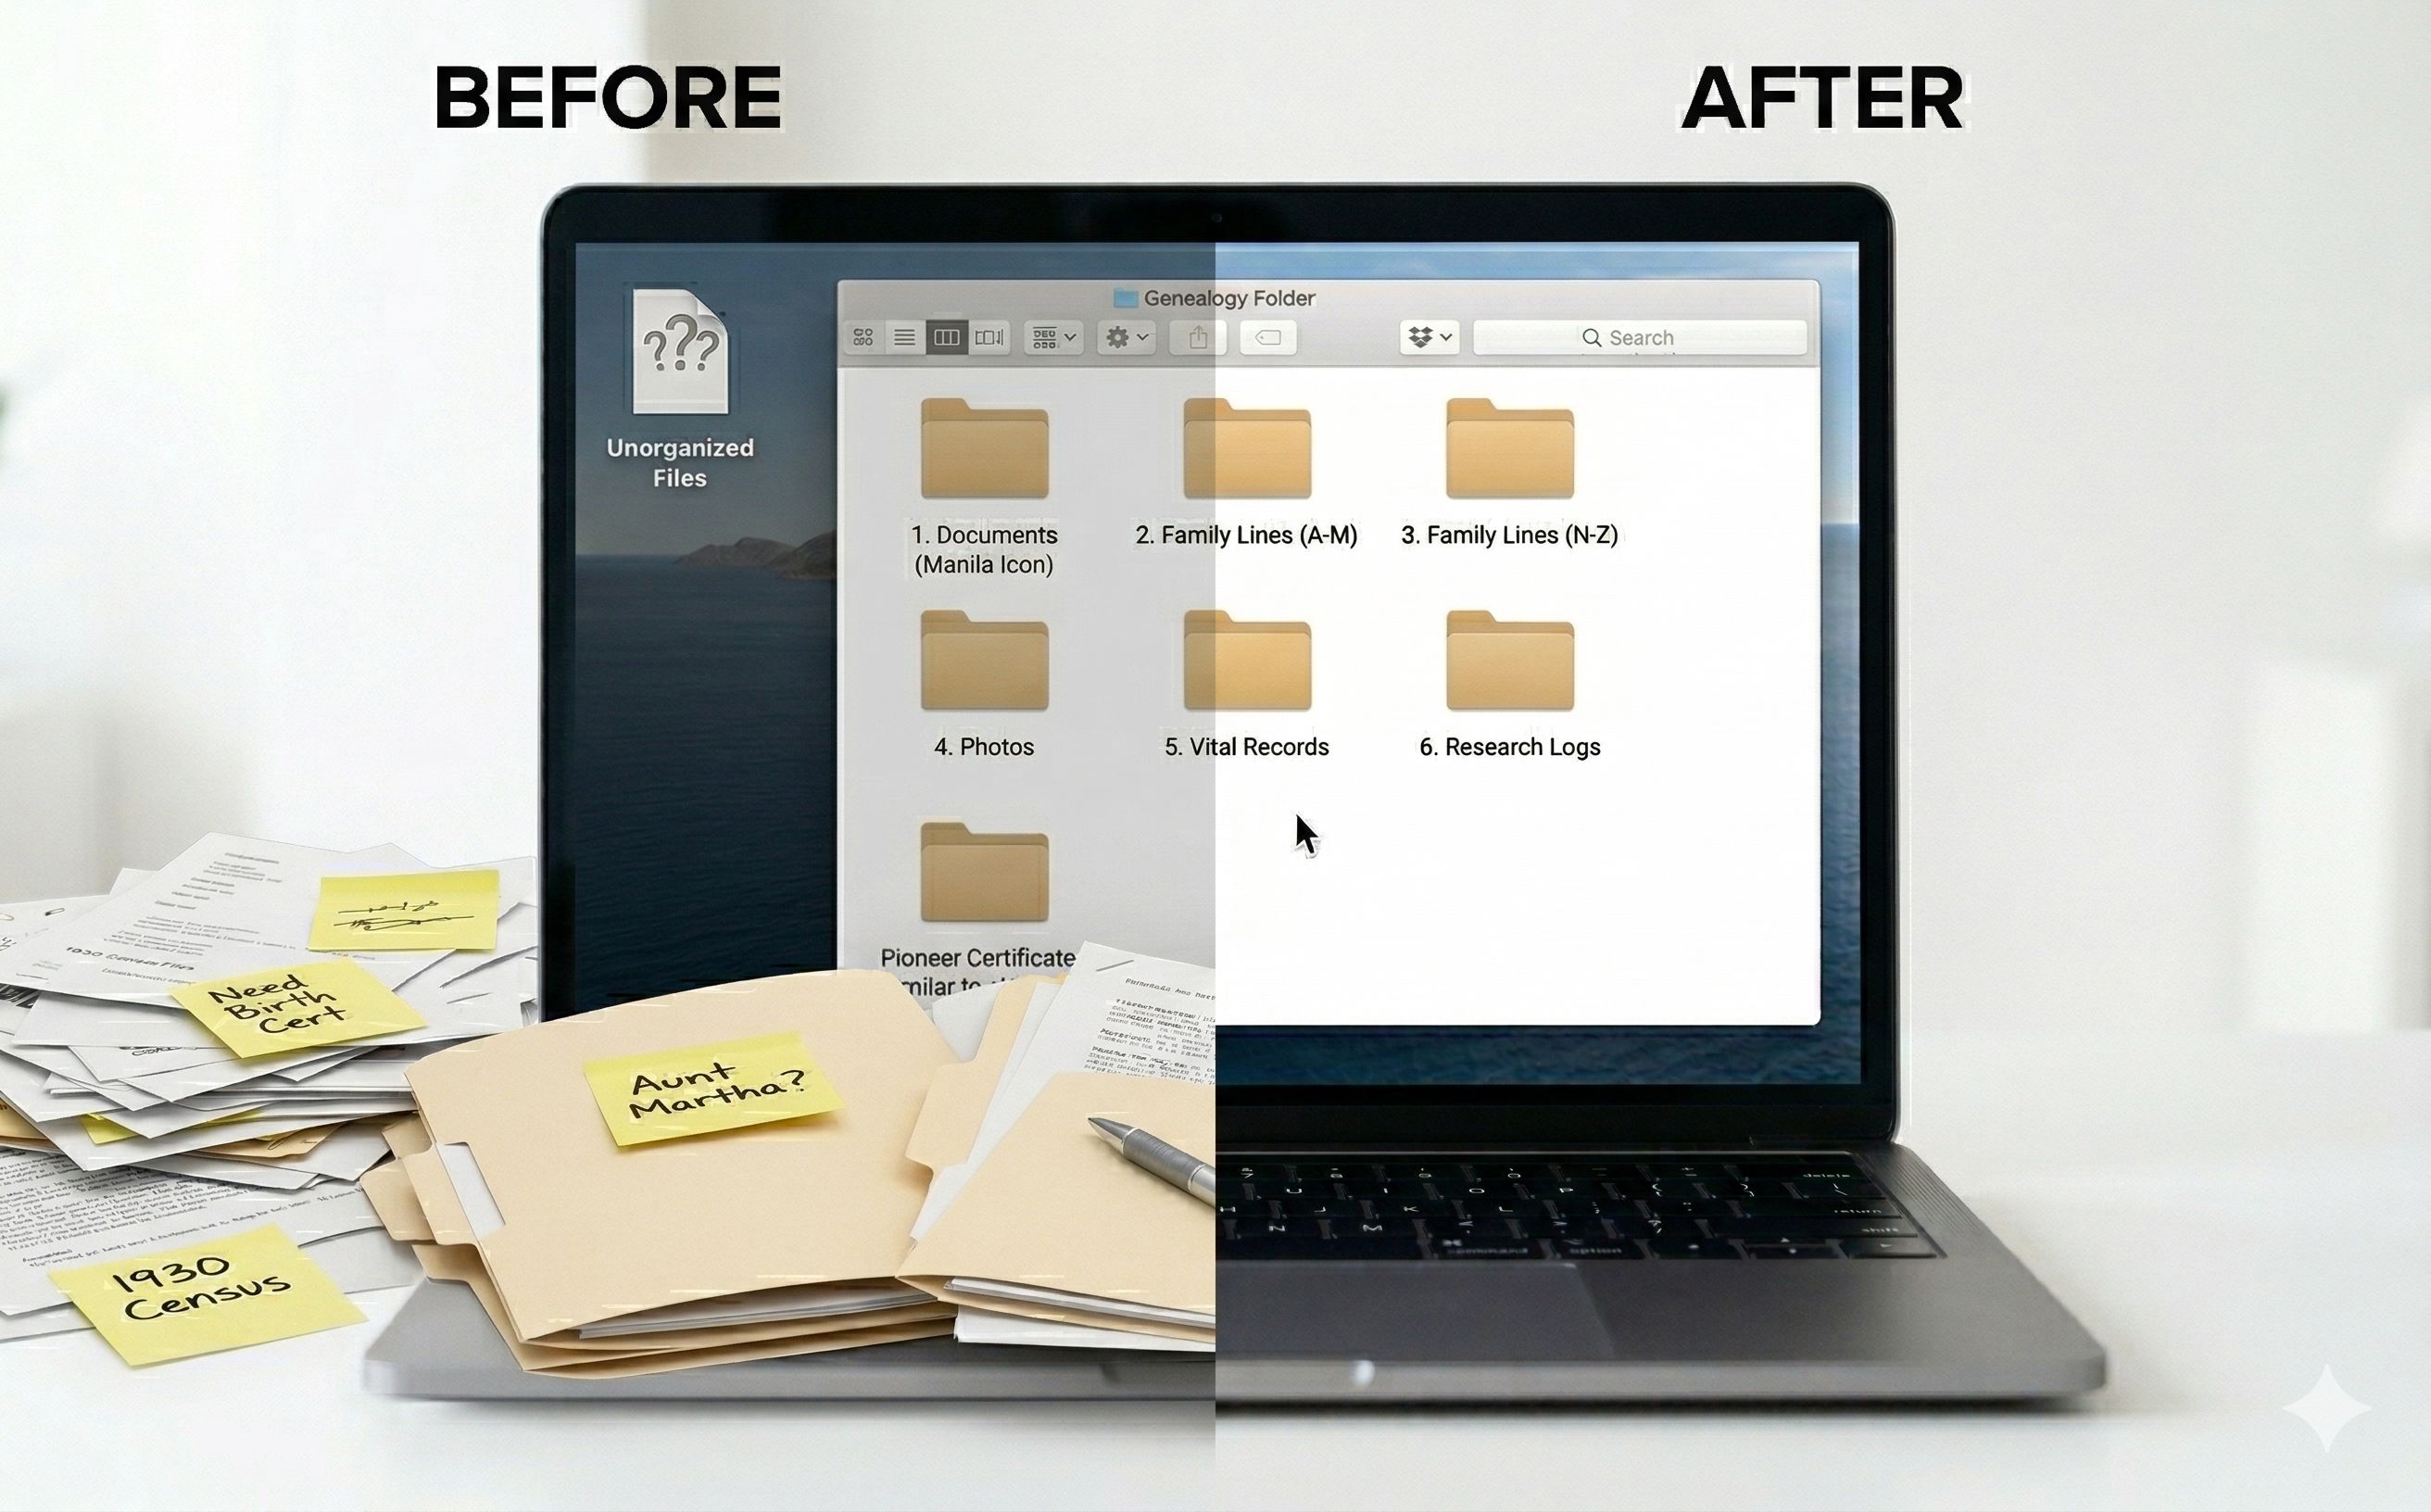
What This Folder Contains:
- A main Genealogy folder
- Subfolders for organizing your files
- Sections for documents, family lines, and genealogy programs
This system keeps everything in one place so your files are easier to find and back up.
Helpful Tips:
- Keep all genealogy files inside this main folder
- Do not move the folder after setup unless necessary
- Back up your genealogy folder regularly
- You can add additional folders for:
-----Spouses
-----Collateral family lines
-----Other relatives
Downloaded file will be in a zip format.
Colored Folder Icons
Optional colored icons that allow you to customize the appearance of your folders on a Windows computer. These can make it easier to visually identify different types of genealogy files.
Important Note:
These icons are intended for users who are comfortable making changes to folder settings. If you are unsure, you may want to skip this section or ask for assistance.
This feature has not been tested on Apple (Mac) devices.
How to Use This Tool:
- Click the button below to download the icon files
- Locate the downloaded file (usually in your Download folder)
- Right-click the file and select Extract All
- Open the extracted folder and save the icons in a permanent location on your computer (do not move them later)
- Right-click the folder you want to change and select Properties
- Click the Customize tab, then select Change Icon
- Click Browse, located your saved icons, and select the one you want to use
- Click OK, then Apply, then OK again
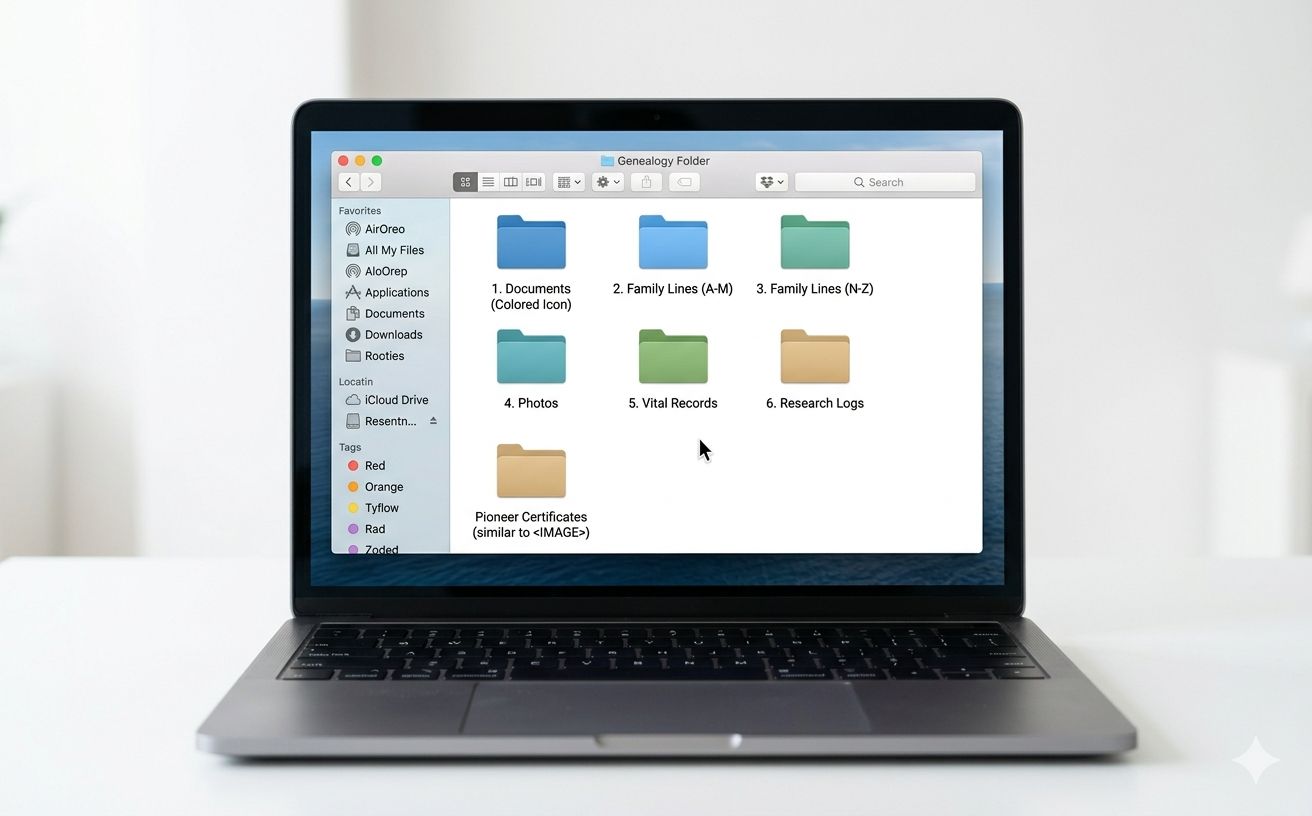
Helpful Tips:
- Don not move the icon files after applying them
- Use consistent colors for similar types of folders
- If icons disappear, check the file location
Downloaded file will be in a zip format.